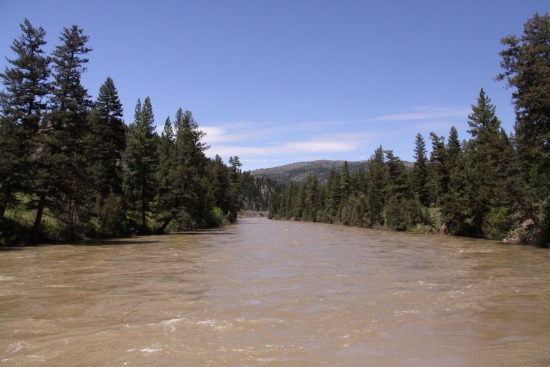
The Lochsa is one of the best rivers in the Lower 48. I have paddled hundreds of different rivers and there is no river I’m more drawn to than the Lochsa. For Missoulians, it’s a short drive over Lolo Pass. Folks coming from Spokane and Coeur D’Alene can take one of two routes, both about 3.5 hours long: west through Missoula or south through Lewiston, Idaho. During Memorial Day weekend people come from all over the west to enjoy the pristine, cold, clear water of the Lochsa River. Typically, the Lochsa enjoys good flows from April to late June.
Here are a few reasons why you should check out the Lochsa this year:
1. Wild and Scenic River! Located in north central Idaho, the Lochsa River was protected in 1968 under the National Wild and Scenic Rivers Act. The Lochsa flows freely, running parallel to Highway 12 through the Selway-Bitterroot Wilderness.
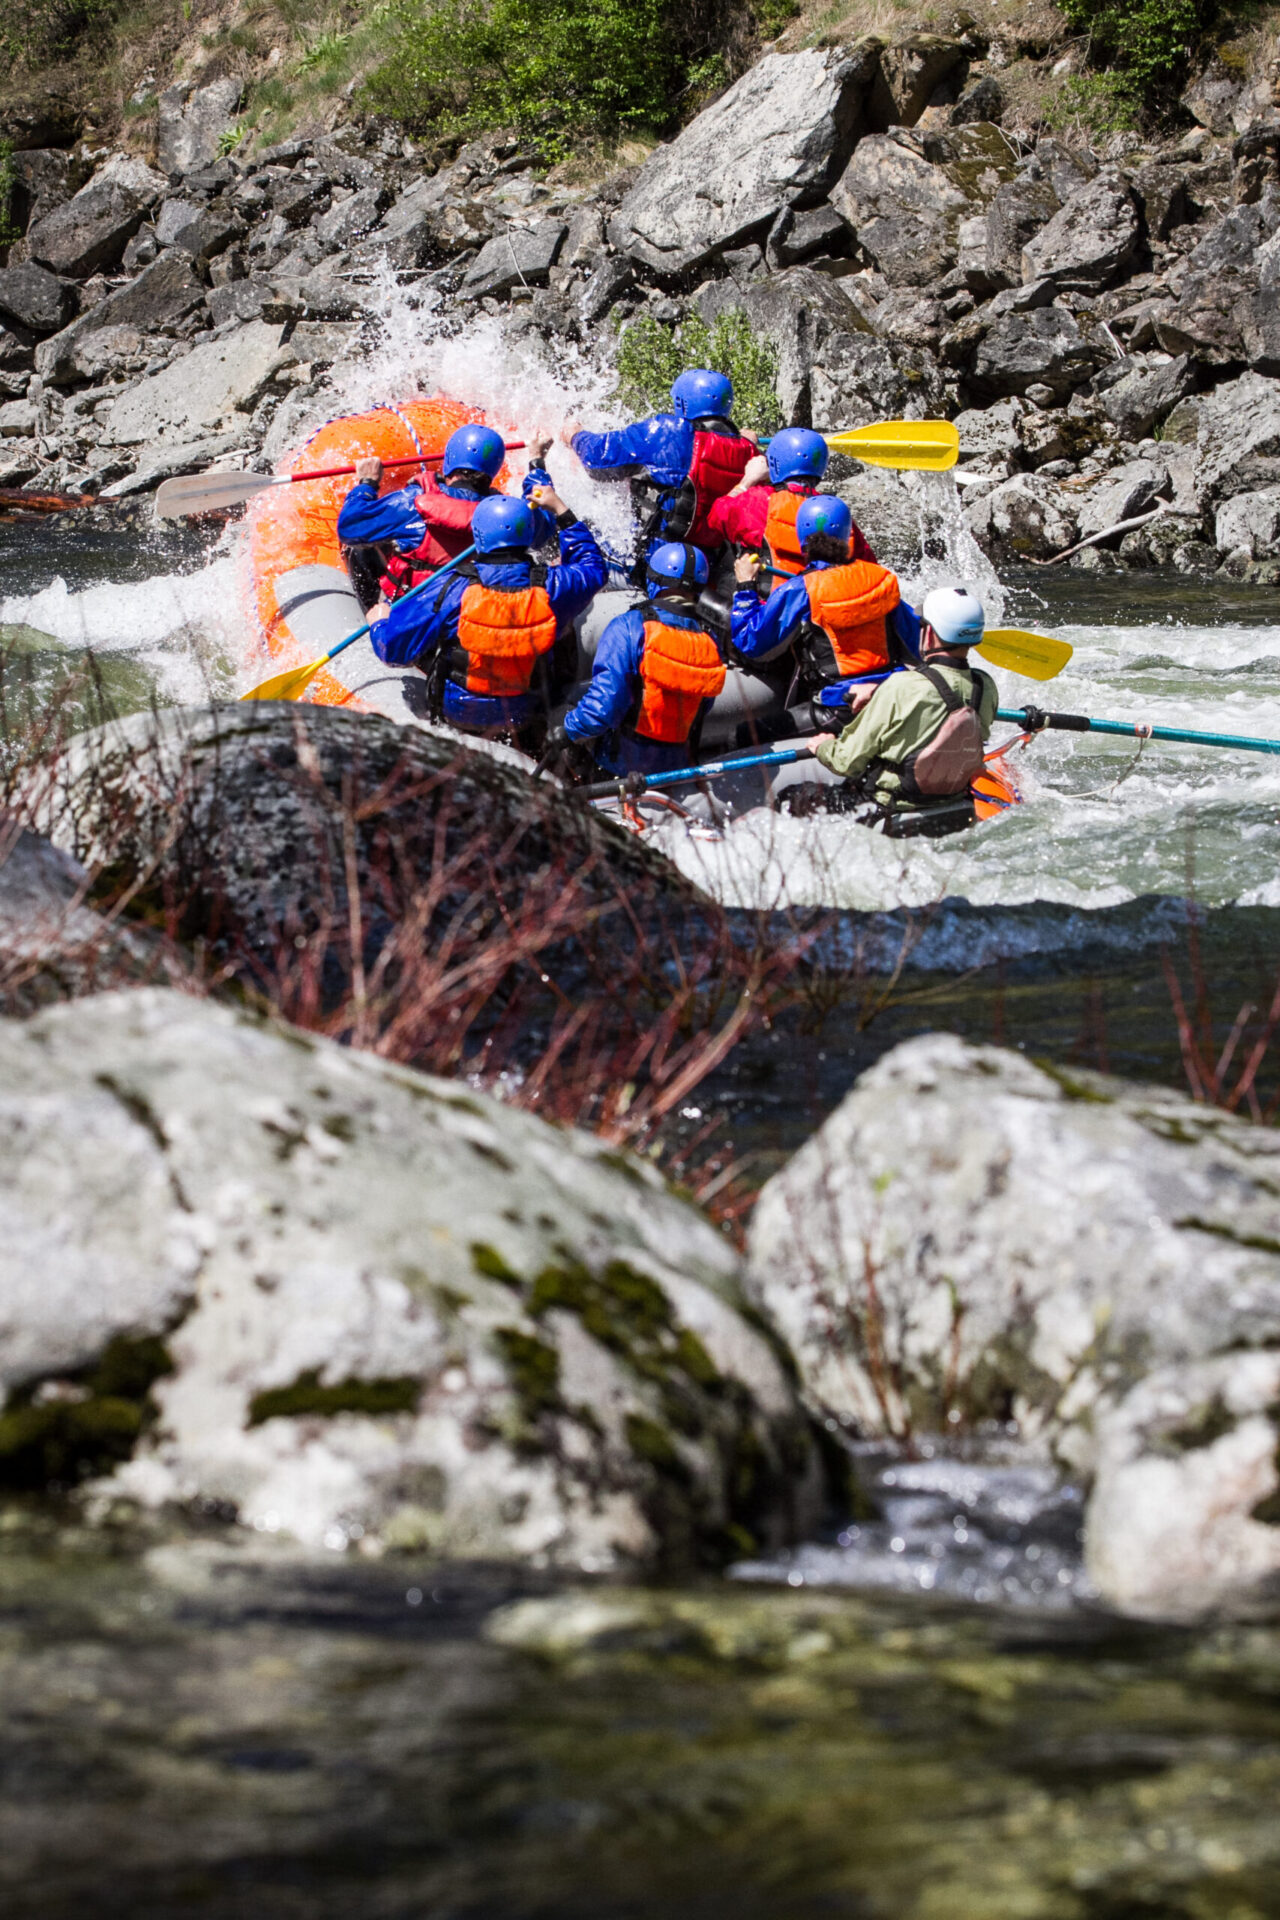
2. 30+ miles of Class IV rapids! The Lochsa is usually divided into three sections: the upper, middle, and lower. Each section is about ten miles long and features rapids with names like Three Hole, Fake Onnos, Grim Reaper, Horsetail Falls, and Lochsa Falls. The lower ten miles, from Fish Creek to Split Rock, is the most popular section. Heads up, river users: Class IV is serious whitewater, so know before you go or hire a local river outfitter.
3. Epic car camping! You’ll find stellar car camping all along the Lochsa corridor. The most popular campground, Wilderness Gateway, offers 90 designated spots in several loops. “C loop” has the most sought-after spots, so reserve them early! If you want free camping, head over to the affectionately-dubbed Ghetto Gateway, directly across from Wilderness Gateway.
4. Hot springs! There are three popular hot springs along the Lochsa River. Jerry Johnson, located between mile markers 152 and 153, is a short one-mile hike in. Weir hot springs is a little gem 1.5 miles up from a trailhead near mile marker 141. Stanley hot springs is a series of primitive pools located six miles walking from the Wilderness Gateway campground.
5. Lowell, Idaho! This sleepy little town has a population of 24. It rests at the confluence of the Lochsa and Selway Rivers, where they come together to from the Middle Fork of the Clearwater. The Wilderness Inn is a great spot to get a burger and a beer, and there is an abundance of campgrounds up the Selway River, Johnson Bar being the river folks’ favorite. Selway Falls is 20 miles up the Selway River and is definitely worth the drive if you haven’t seen this maelstrom of water. There are also two outfitters in Lowell who can help get you out on the river!
There are some great river towns out there. Many towns, such as Boise, Asheville, and Bend boast great river opportunities in or close to town and seem to attract folks who put recreation on a pedestal over work. Missoula falls right into place with these towns but certain opportunities separate Missoula from the rest. Brennan’s Wave, located in the heart of downtown Missoula adds a “cool factor” to Missoula and just upstream the icy cold Rattlesnake creek pours into the Clark Fork River. If you continue to navigate upstream on the Clark Fork River you will discover one of the best gems in the State of Montana: The Blackfoot River.
For years, the Blackfoot and Clark Fork Rivers wanted to be friends but were separated by Milltown Damn. In 2012, the confluence of the Clark Fork and Blackfoot Rivers flowed freely for the first time in more than a century. This was a game changer for local river recreationist. Now, folks can put in on the Blackfoot River and float right through the confluence and directly to downtown Missoula.
Putting in at Weigh Scales (last fishing access site on the Blackfoot River) and floating to Silver Park (last take out in downtown Missoula) is a true gem. Here are some reasons why you should consider this when you come visit Missoula:
1. Float takes less than 2 hours and is short and sweet
2. Great for all ability levels and ages (consult a local outfitter before you go)
3. can float 2 rivers in 1 trip
4. Plenty of places to stop and have a riverside picnic
5. Float through Hellgate Canyon
6. See downtown Missoula from a different perspective
7. Get to float through the legendary Brennan’s Wave
8. Great view of the University of Montana
Although this is a Class I-II rated section, there are still hazards and it is important that you are personally prepared and responsible before you float. Any local raft company or outdoor shop will be happy to give you information on river condition, flows, and steer you in the right direction.
I recently went on a 12 day self-support kayaking trip on the Grand Canyon. Prior to this trip, my backcountry cooking skills consisted of the ability to boil water and add it to a freeze-dried meal pouch. However, with the help of two backcountry cooking gurus and the right tools, I was able to expand my culinary expertise for self-support kayaking trips from boiled water added to Mountain House Lasagna with Meat Sauce to fresh, homemade (camp-made) lasagna with meat sauce! Here are a few of the meals we made during our 12 day adventure in the Grand Canyon, as well as a few tips and tricks that I learned for cooking and eating well in the backcountry.
Main cooking tools used:
Fry-Bake pan and lid– this pan acts similarly to a lightweight dutch oven and a fry pan all in one. It is non-stick, easy to clean, and was safe to use as a cutting board!
*helpful to bring some sort of clamp tool so that you can hold the pan steady while mixing, flipping, stirring, etc..
MSR Whisperlite stove– easy to use, lightweight, folds up small, cooks hot
Metal spatula that was sharp enough to use as a knife– we were able to cut veggies, potatoes, and sausages right in the fry-bake pan with the spatula
Cinnamon Rolls
On Christmas Eve, our trip leader and one of the backcountry cooking gurus on our trip prepared the dough for our Christmas breakfast feast of cinnamon rolls. He mixed together, yeast, water, sugar, melted butter, a bit of salt, and some powdered milk. The mixture was placed in a plastic bag, and then wrapped in a down jacket, where it sat all night while the yeast rose.
When we woke on Christmas morning (at 4a.m. because our tent had blown down in a wind storm), the dough ball was huge! The yeast had risen so much that it had almost burst open the drybag that it was inside. I folded and kneaded the dough on a cutting board while others prepared a filling mixture of sugar, cinnamon, and melted butter. I rolled the dough flat on the cutting board, spread the filling on it, then rolled it into a spiral and cut it into cinnamon rolls. We baked the cinnamon rolls in the fry-bake pan over the whisperlite stove for about 30 minutes until they were golden, then proceeded to enjoy home-made cinnamon rolls on Christmas morning in the Grand Canyon!
Lasagna
The trick with cooking over only one stove is that you have to cook everything in separate steps. The veggies had to be cooked, then the pasta boiled, then the sauce made, then the salami heated, then the layers layered, then the cheese cut and melted. It was a long process, but the end result was pretty amazing.
Pizza
We prepared the dough with flour, yeast, and water, and let it sit in a down jacket for about an hour while we let it rise. While the dough was rising, I prepared a red sauce with a packet of “just add water” tomato sauce while we cooked up some veggies and sausage. Once the dough was ready, I added more flour, kneaded and folded it, then prepared some mini pizza dough rounds. We baked the pizza dough rounds in the fry-bake, then added sauce, veggies, sausage, and cheese before baking it once more. Final product = awesome pizza and lots of mice scurrying around the camp kitchen vying for dough crumbs.
Curried Vegetables and Quinoa
The curry dish had lots of vegetables, was high in protein, and it definitely kept us warm with the super spicy curry sauce. We cooked the quinoa first, using about a 2:1 ratio of water to quinoa, bringing it to a boil, then taking it off the heat, covering it and letting it sit while cooking the rest of the meal. We then cut up and sautéed what was left of our fresh vegetables- zucchini, carrots, onion- and added a packet of curry sauce, as well as a packet of coconut cream. It was a treat to have such healthy and fresh food on day seven of our 12-day adventure.
6 things I wish I had brought on my Grand Canyon self-support kayaking trip
1. Longer paddle
My shoulders hate me right now for trying to save money by using a 194cm paddle that I already had. Lesson learned: when paddling a longer and heavier boat, a longer paddle is also necessary. 2. Seat cushion
No matter how much of a dirtbag you are, sitting on the ground every meal for 12 days straight is not awesome. 3. Face wash
Sometimes girls just need some quality spa time. 4. Fruit
I went through some serious fruit withdrawals during the trip. I had a few dreams about apples and bananas dancing through a field of orange trees. 5. Raincoat
Oops! Left that one in the car. Luckily, the only rain we had was just a slight drizzle and I was fine without my raincoat. However, had the rain been any worse, I would have been living in my drysuit day and night. 6. Bowl with a lid
It is never fun to wake up in the morning and find that your bowl has been turned into a public toilet for all the mice that live within 3 miles of your camp. Lesson #1 learned: always put your bowl in a drybag overnight. Lesson #2 learned: bring a bowl with a lid so that mice cannot get into your bowl in the first place.
5 things I wish I had left home on my Grand Canyon self-support kayaking trip
1. Most of the alcohol I brought
I am not a big drinker, so this is entirely from my own experience, but I found that after paddling 20-30 miles each day, I had zero interest in drinking when I got to camp. Changing into dry clothes, eating a giant meal, and crawling into my two sleeping bags that I brought were the only activities I had any interest in partaking in most nights. 2. Neoprene kayaking mittens
I had been told that the water in the Grand Canyon is freezing cold, so I came prepared with both pogies and mittens. However, after paddling for most of my life in Montana, I found the water to be moderate in temperature, and I never used my mittens once. I did, however, use my pogies. 3. Front foam pillar
There is no longer a requirement in the Grand Canyon rules and regulations that states that kayakers must have front and back support pillars in their kayaks. I did not fiddle with the outfitting in my boat long enough to figure out how to remove the front pillar, and therefore I struggled with packing all my gear in my kayak every single morning. 4. Cotton t-shirt
Winter trip = long sleeves and fleece worn at all times. Cotton t-shirt in 30 degree weather = completely pointless. 5. Several Wag Bags
This trip was my first experience using a groover (glorified word for poop tube), so Wag Bags (poop bags for humans) were a completely new thing for me. I purchased way too many, thinking I would have to use one for each deuce. Much to my grossed-out surprise, Wag Bags are multi-use! I could have saved a lot of money and groover space had I known this in advance.
1. Whistle: A whistle can be used as a way to communicate with others on the river when talking and yelling is not an option. Whistles are also an important way to alert others and get their attention quickly. Don’t just go to the local store, buy a whistle, and start blowing it left and right on the river. In my opinion, the whistle should be used as an emergency tool only. When I’m on a river and need to communicate with my team, we establish a system of signals using our paddles and hands before we put on the river. Using a whistle to alert your buddies that you need a beer is not cool or too draw attention to yourself is not recommended.
2. Snack: As the old saying goes, “it’s not a matter of if, but when”. You will get hungry and so will folks in your group. I like to pack some energy bars, candy, and a little jerky. You don’t want anybody in your group getting “Hangry”
3. Electrolytes: When you’re on the river, on a nice hot day, you lose electrolytes in your sweat, particularly sodium and potassium. In order to stay hydrated, these electrolytes must be replaced. Combining water with electrolytes, (powdered Gatorade, Emergency) our bodies will hydrate quicker. Symptoms of Dehydration include irritability, fatigue, light headedness, headaches, muscle cramps, and reduced endurance.
4. River Knife: I keep my knife accessible on the front pocket of my PFD. It’s an essential safety tool, especially for cutting rope, but I usually just use it for making sandwiches or PBJ’s.
5. Watch: A watch can be used for many things on the river. Time on/off (for future reference), pace of the group, river rescues, and meeting bored shuttle bunnies on time, are all essential uses of the watch.
Other Items to Consider: Nose plugs, ear plugs, carabineer, prussex/webbing.